
การให้คำปรึกษาด้านผลิตภัณฑ์
ที่อยู่อีเมลของคุณจะไม่ถูกเผยแพร่ ฟิลด์ที่ต้องการจะถูกทำเครื่องหมาย -
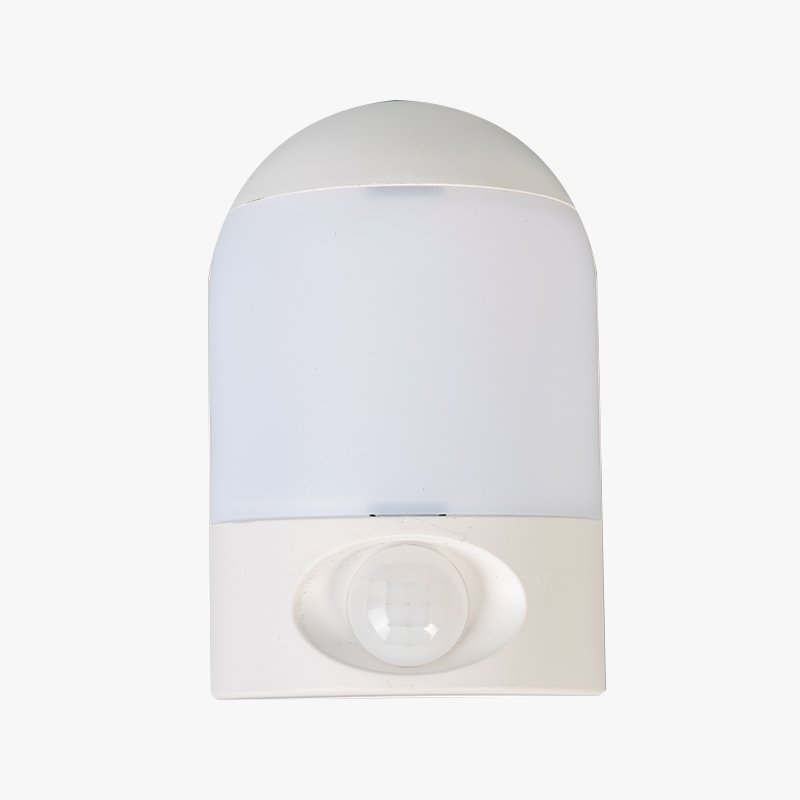
The direct answer is that when a sensor night light stops working correctly, the issue is almost always traced to one of three areas: a dirty or obstructed light sensor that is misreading room brightness, a weak or improperly seated power source, or an LED that has reached the end of its usable life. Working through these three areas in order, starting with the simplest check and moving to the more involved one, resolves the large majority of reported issues without needing to replace the entire fixture. The sections below cover each of these causes in detail, along with a step-by-step troubleshooting order and a symptom reference table for quickly narrowing down the likely cause. Anyone comparing replacement options can also look at a Sensor Night Light product line to see how sensor placement and build quality affect long-term reliability.
Before opening the housing or handling internal components of any night light, unplug a plug-in model from the outlet or remove the batteries from a battery-powered unit, since working on a live circuit even at low voltage is an unnecessary risk that a few seconds of disconnecting easily avoids. If the unit is hardwired into a wall fixture rather than plug-in or battery powered, this level of repair generally falls outside what a typical homeowner should attempt, and it is safer to have an electrician handle any wiring-related issue on a hardwired fixture.
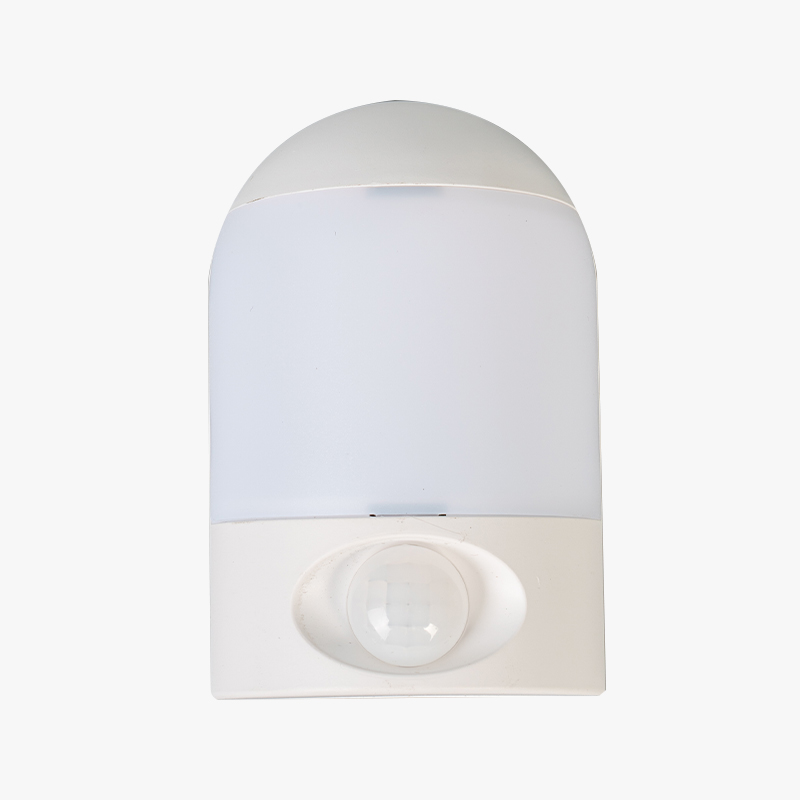
The small sensor window, usually a tiny dark or slightly tinted dot on the front of the unit, is what detects ambient light levels and tells the night light when to turn on or off. Dust, fingerprint oil, or a thin film of grime on this sensor is one of the most frequent causes of a night light that stays on during the day or fails to turn on at night, since a coated sensor can misread the surrounding light level in either direction.
If the unit has a sensitivity dial or a manual override switch, check that it has not been accidentally shifted to an always-on or always-off setting, since this is a simple adjustment that is sometimes mistaken for a hardware failure.
For battery-powered units, a weak battery is a common cause of dim output, flickering, or a sensor that appears to respond slowly, since insufficient voltage can affect both the LED brightness and the sensor circuit reliability. Replace the batteries with a fresh matched set rather than mixing old and new batteries, since a mismatched pair can cause uneven power delivery even if the unit still technically turns on.
If a night light has not been used for an extended period, check the metal battery contacts inside the compartment for a white or greenish crust, which is a sign of battery corrosion. This residue can usually be cleaned with a cotton swab dipped in a small amount of vinegar or lemon juice, followed by a dry wipe once the residue is gone, and the contacts should be fully dry before new batteries are inserted.
For plug-in models, test the outlet with a different device to confirm the outlet itself is supplying power, since an outlet issue is sometimes mistaken for a fault in the night light. If the outlet works normally with another device, inspect the night light's plug prongs for any visible damage or looseness that could be preventing a solid connection.
LEDs generally have a long service life, but they are not permanent, and a unit that has been running continuously for an extended period can eventually show dimming, flickering, or a shift in color temperature as the LED ages. Based on general LED component lifespan data commonly cited by lighting manufacturers, many standard LEDs are rated for somewhere in the range of fifteen thousand to twenty five thousand hours of use before noticeable output decline, which for a night light running several hours nightly can translate to several years of typical use. If a sensor night light has been in continuous service for multiple years and the sensor and power source have already been ruled out, LED wear becomes the more likely explanation.
| Stays on during daylight | Dirty sensor or sensor obstruction |
| Never turns on at night | Dead battery or sensor set to wrong mode |
| Flickers intermittently | Weak battery or loose internal connection |
| Light appears dim compared to when new | Aging LED nearing end of rated lifespan |
| No response at all, no light or flicker | No power reaching the unit, check batteries or outlet |
Some sensor night light models are designed with a small housing that can be opened using a screwdriver to access the internal circuit board, while others are sealed and not intended to be disassembled by the end user. If the housing is designed to open, check for any wires that appear loose from the connector or a battery clip that has bent away from making firm contact with the battery terminal. A loose connection at this level can often be resolved by gently reseating the connector or slightly bending a battery clip back into contact, though this should only be attempted on units clearly designed for basic user access rather than sealed units where opening the case could void a warranty or risk damaging the unit further.
A sensor issue caused by dirt or a battery issue caused by age is generally worth resolving through the cleaning and replacement steps above, since both fixes take only a few minutes and use materials most households already have on hand. An LED that has clearly reached end of life, or a sealed unit with an internal fault that cannot be accessed without specialized tools, is usually a better candidate for replacement rather than repair, particularly given how affordable most sensor night light units are relative to the time a more involved repair would take. Households replacing multiple units at once sometimes take the opportunity to compare updated sensor sensitivity and brightness options, since sensor technology and LED efficiency have generally improved in newer models compared to units purchased several years earlier.
Wiping the sensor window every few months as part of routine household dusting prevents the buildup that causes many of the daytime activation issues described earlier, and it takes only a few seconds per unit. For battery-powered models, replacing batteries on a set schedule rather than waiting for a complete failure reduces the chance of corrosion forming inside the compartment, since a battery left in a device long after it has drained is more likely to leak over time. Choosing a unit with an accessible battery compartment and a visible sensor window, such as those available in a Sensor Night Light lineup designed for straightforward maintenance, can make this kind of routine upkeep noticeably easier compared to a sealed unit with no user-accessible parts.
ที่อยู่อีเมลของคุณจะไม่ถูกเผยแพร่ ฟิลด์ที่ต้องการจะถูกทำเครื่องหมาย -

 อาคาร E21, Wanyang Zhongchuang City, No. 555 Binhai Avenue, เขตพัฒนาเศรษฐกิจ Binhai, เขต Fenghua, เมืองหนิงโบ, มณฑลเจ้อเจียง
 0086-130-81920916
Copyright © Conbo Electronics Co. , Ltd. All right reseved.